How To Make A Tattoo Stencil With A Regular Printer Can tattoo stencils be printed on a regular printer? So the answer is yes, you can make tattoo stencils with an ordinary printer. However, you are unable to use ordinary paper. Thermal paper, carbon transfer paper, or even temporary tattoo paper is what you’ll need in its place. So don’t worry. You can use an inkjet or laser printer with any of the papers.
How To Make A Tattoo Stencil With A Regular Printer:

Tattoo Stencils and Printers
Tattoo artists use tattoo stencils to more easily transfer tattoo designs to clients’ skin and avoid mistakes as they work. The stencils are helpful, especially for tattoo artists developing their talents and gaining experience. Tattoo stencils come in handy because freehand tattooing is not allowed once a tattoo artist works professionally.
Many think tattoo stencils are a waste of time and not true tattoo art. But we must admit that tattoo stencils simplify the artist’s job. The likelihood of an error is reduced, and the lining typically works out perfectly.
SUMMARY:
The tattoo design’s outline is printed on thermal or hectograph carbon paper to create tattoo stencils, as we previously said. The skin can be tattooed with designs transferred using stencils as a template. This enables the tattoo artist to draw an outline, trace it, and do the tattoo flawlessly. Stencils for tattoos can also be used to show a customer how their tattoo might appear on their skin or in the location they chose for it.
What Are Tattoo Stencil Printers?

Tattoo artists could only make tattoo stencils with paper and a pen before the invention of stencil printers. It took a long time, and it was quite difficult. However, as technology advanced, tattoo stencil printers became a reality and swiftly took over the tattoo industry.
With tattoo stencil printers, tattoo artists can swiftly generate and duplicate stencils, enhancing their productivity and workflow. The printer is connected to the computer, where the tattoo artist creates or edits designs using applications like AmazioGraph or Photoshop.
Tattoo stencil printers are more compact and even portable than standard printers. However, they offer the tattoo artist everything they would require and are very functional. Other types of papers used to make tattoo stencils are also supported by these printers in addition to thermal paper.
Can the transfer paper be loaded into a normal printer?
With iron-on transfers, you can print images and text on most fabrics and other suitable surfaces using a standard inkjet printer. Most inkjet and ink printers use transfer paper. In both cases, there is no need to change or change the printer.
You may wonder, can you print the iron with a normal printer during the transfer?
The answer to your question is that you can use any type of ink or plain ink to print on plain paper. Any inkjet printer that uses plain ink can print the transfer paper. The trick here is not with the ink or the printer, but with the type of paper used.
Also, note that you can use Sharpie on transfer paper.
So, if you use a water-soluble medium, it won’t work either. Permanent markers work better than Crayola. Although the paper is designed to be used with an inkjet printer. The ink used for the transfer is pigment ink.
So, Can I Use a Regular Printer To Create Tattoo Stencils?
There is a less expensive option if you want to practise your tattooing at home but don’t want to spend the money on an expensive tattoo stencil printer. You may make quality tattoo stencils at home by choosing the suitable paper and utilising your home or office printer.
So the answer is yes, you can make tattoo stencils with an ordinary printer. However, you are unable to use ordinary paper. Thermal paper, carbon transfer paper, or even temporary tattoo paper is what you’ll need in its place. So don’t worry, you can use either an inkjet or laser printer with any of the papers.
Here are the key actions to do while producing tattoo stencils on a normal printer;
Step 1 – make sure the computer you’ll be using to create and print your designs is connected to the printer. If your design is finished, just open the picture.
Step 2 – The printer tray is where you would normally put standard paper. Place the tattoo paper there. If you’re using carbon tattoo paper, specifically, pay attention to how the material is positioned. The printer head should be on the white side of the paper. This is how the ink will be received and the design will be printed.
Step 3 – After printing is finished, take the paper out of the printer tray and let it completely dry. In particular, if you’re using temporary tattoo paper, this applies. It’s likely that the printed ink will smear if you skip this step.
Step 4 – Cut the printed image out. Stay as near as possible to the design’s edges while being careful not to cut into it. Later on in the procedure, this will make it simpler to work with the stencil.
Step 5 – And now it’s time for the anticipated process of applying the design to the skin. You can use a stick deodorant to accomplish this. Place the stencil on the deodorant after applying a thin coating to the skin. Make sure the design side is positioned downward to ensure successful transfer. After applying pressure, let the paper rest for a minute. After that, take the paper off to enjoy your creation.
SUMMARY:
Remember that there is always a chance that utilising thermal or hectograph transfer paper won’t work with your specific printer.
There are instances where these papers only clog the printer and ruin the design altogether, or they simply fail to print anything. After all, these sheets are designed to only be used by professional thermal printers.
What Sets A Professional Stencil Printer Apart From A Regular One?
You might be asking why tattoo artists use the pricey thermal tattoo stencil printers when you can technically generate perfectly good tattoo stencils with only a computer and a home printer.
The ink is really the key distinction between a standard printer and a thermal stencil printer. The ink used to print out the design when using a standard printer is standard computer ink. Carbon printer ink, which is better suited for transfer onto the skin, is used by professionals to produce tattoo stencils. In essence, the black tattoo ink and the carbon printer ink are quite similar, if not identical.
Additionally, thermal stencil printers are more trustworthy when it comes to reproducing an exact duplicate of the designed object. Since there is always a chance of ink smudging or losing portions of a design, standard home printers might not have the same capability.
SUMMARY:
Additionally, there is a greater likelihood that the paper will curl as it leaves the printer when utilising thermal or carbon paper with a conventional printer. You might have to print again in this situation, wasting a sheet of thermal paper in the process.
So, The Main Trick Is In The Paper, Not The Printer?
The answer is not in the printer you use, but rather in the stencil paper, even if a professional tattoo stencil printer performs a superior job of transferring the pattern onto the paper.
There are various kinds of tattoo transfer or stencil sheets, as we previously said. All you need to do to make your own tattoo designs at home if you have a home printer is to select the stencil paper. However, you also need to understand these stencil papers, so here is a little explanation:
Hectograph transfer paper –
On this kind of paper, the tattoo artist will draw a freehand pattern and trace it either by hand or with a dot matrix printer. This is an antiquated technique for making stencils that is nonetheless common among professional tattoo artists today.
The hectograph transfer paper is less expensive, but if you’re not skilled or experienced in free handing tattoo patterns, it can soon become expensive.
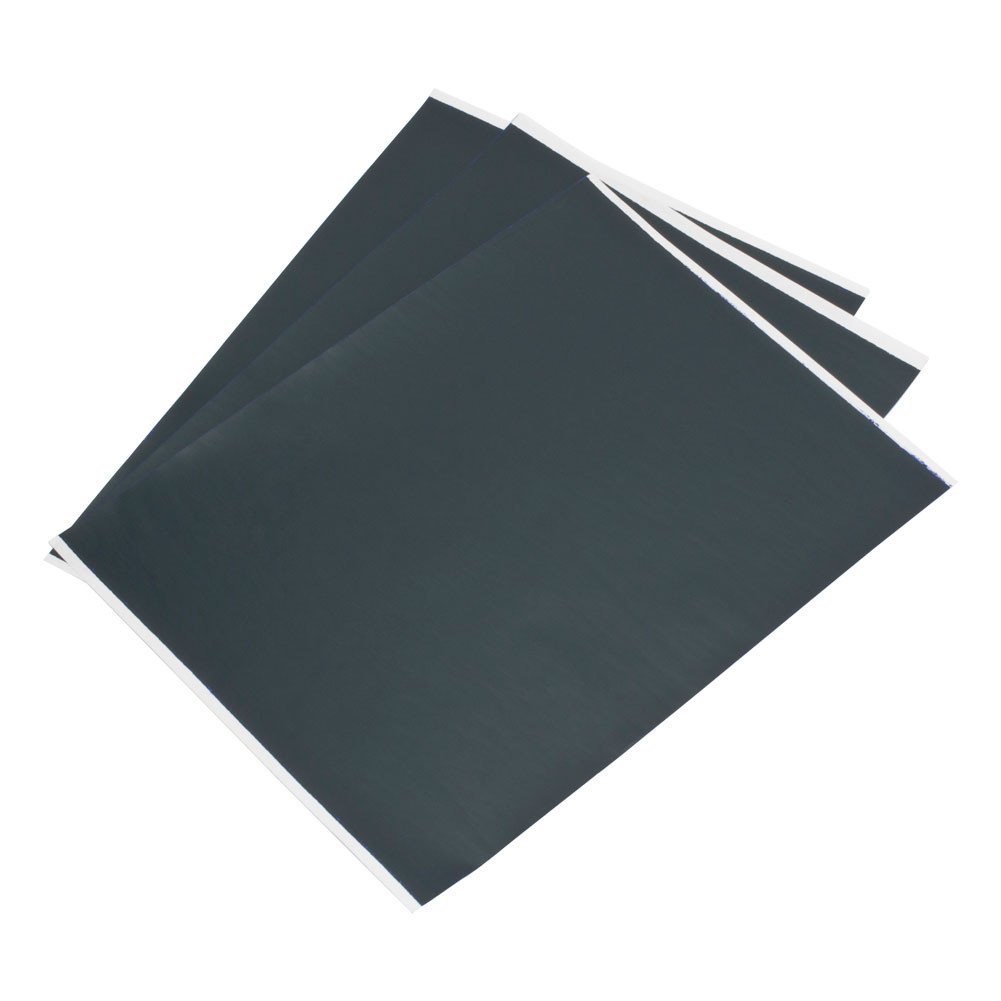
Thermal paper –

The image from the printer is transferred onto this kind of paper using heat. Currently, only tattoo artists use thermal paper to make tattoo stencils. Because it produces a crisp image and the stencil can be seen on all skin tones and types, it is widely used in the tattoo business.
This is so because the paper has 4 layers, which allows for a deeper preservation of the designs as a whole. Every aspiring tattoo artist should learn to use thermal paper because it is a standard in the profession.
How do I iron a design on a shirt?
Steps:
If you are planning on doing this yourself, here are the steps…
-
Visit your neighborhood fabric shop and buy some white fabric. If you want to make a high-quality quilt, the fabric should be of good quality. (GIGO). Since most transfers leave the background color visible through the transfer, the fabric should be white. The color you iron the drawing onto might not matter if you use a plastic-type transfer because the transfer is opaque. However, this kind of transmission could not have a lengthy lifespan.
-
Download or scan the drawings. They should be cleaned up and saved in a manner that allows printing.
-
Buy fabric to picture transfer paper. Find out which option is best for what you are doing by doing some researches and asking around. I am not an authority on this; thus, I am unable to advise you.
-
Onto this paper, print the pictures. Print the pictures in different sizes. Print several big and little versions. The quilt is more intriguing the more size variations there are. Call us if you’d like more details on acceptable size ranges.
-
Onto the white fabric, iron them. Each photo image should have enough of space surrounding it so we have room to cut it into a block.
How to Do Iron on T Shirts and Make Designs on the Computer:
Steps:
1.Use any photo editing application to create your design transfer, or simply open the image you want to see on your shirt.
- According to the instructions on the transfer paper you have, flip the image horizontally. Because it will be accurately applied to the shirt when you transfer the image to it, you want the image to appear reversed. In this illustration, we’re utilising a very dark T-shirt transfer that doesn’t explicitly state that you should invert the picture.
2.To create the transfer paper, print the image.
3.If required, trim the transfer paper. Your t-shirt will receive everything you have left.
4.Lay the T-shirt out on a table or another flat, sturdy surface. Use a clean, plain shirt that you intend to use for the transfer.
5.Warm up a clothes iron.
6.Your shirt’s creases should be ironed out. Before transferring, make sure it is perfectly flat.
7.Peel the transfer paper’s backing off.
8.Put the transfer where you want the design to appear on the shirt.
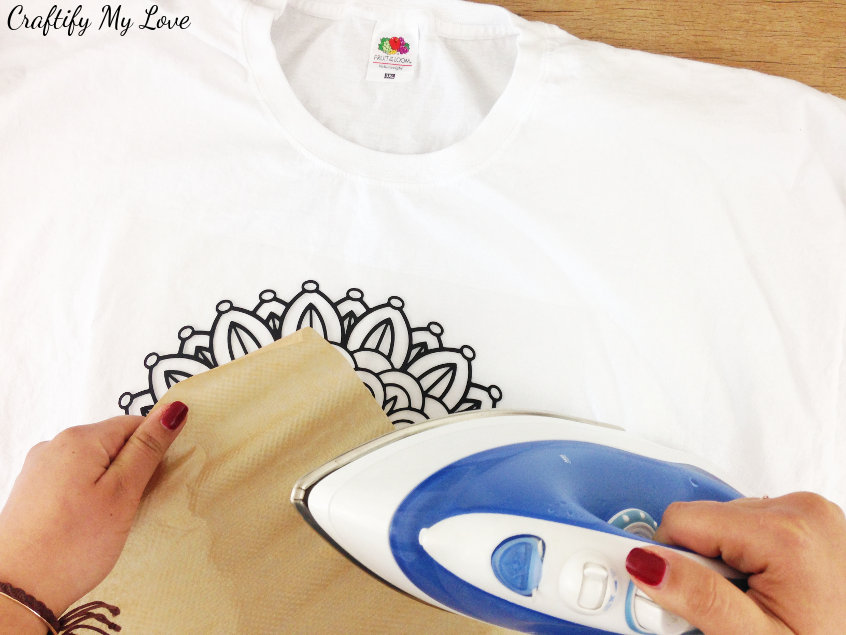
9.The parchment paper from the transfer package, a soft kitchen towel, or a terry cloth towel folded in half should be placed on top of the transfer.
10.Place the hot iron onto the towel and move it around the transfer in a circular motion from the center to the edges. According to the directions provided with the transfer paper, you should do this for however long is specified.
11.Let the transfer finish cooling.
12.From the transfer, take off the parchment paper. Starting at a corner, pull slowly.
Frequently Asked Questions:
Q1: If you see this, which printer do I need for thermal transfer paper?
A:
- Epson Artisan 1430 inkjet printer.
- Epson WorkForce WF7110 inkjet printer.
- Epson Stylus C88 + color inkjet printer.
- Silhouette Cameo heat transfer starter pack.
- 3D Sublimation Vacuum Heat Press Stock USA.
Q2: How much does the Walmart transfer card cost?
A: With just two price points, Walmart-2-Walmart gives clients a straightforward and clear cost structure. Customers can transfer up to $50 for $4.50 and up to $900 for $9.50.
Q3:Which type of printer is required for transfer paper?
A: Using little more than an iron and transfer paper, you can print text and images on a variety of fabrics. Not even a specialised printer is required. All you need to use inkjet transfer paper is a standard inkjet printer. There is also laser transfer paper if you have a laser printer.
Q4:Can a Canon printer print on transfer paper?
A: Load the transfer paper into the printer’s paper feeder. Note: If you are using Canon iron-on transfers, print on the page without the dark green lines. In the application, you print from, click File, then click Print.
Q5: Can I go back to Staples for transfers?
A: No, staples are not printed on iron-on transfers. However, everything needed to print iron-on transfers at home can be purchased from local Staples.
Q6: What kind of paper do you use to iron the transfers?
A: The hot-melt inkjet transfer paper makes it easy to decorate fabric items with your photos. Property.
Q7: Can you do the hot transfers yourself?
A: Print your iron transfers. Create unique textile art with an inkjet printer. It’s simple and easy! Put it on iron-on transfer paper that prints like regular paper first and start decorating everything from t-shirts and pillow cases to quilting squares and canvas bags.
Q8: What paper is used for printing on T-shirts?
A: Transfer paper
Q9: Which printer is used for T-shirts?
A: Inkjet Printer
Which Ink Is Used to Print T-Shirts?
A: Plastisol ink
Q10: Can you use a regular tattoo stencil printer?
A: There are several ways to make a tattoo stencil, including tracing a design on sticky paper or printing a stencil with a thermal copier. An easy and inexpensive way to make a tattoo stencil is to use an old dot matrix printer and carbonless paper.
Conclusion:
We hope that we have given you enough knowledge to start creating tattoo stencils on your own. Of course, you should consult a professional tattoo artist who is knowledgeable with creating stencils for more information and to find out which printers produce the best results. Other than that, all you need to do is gather some legitimate transfer paper and start working.
READ ALSO: