Imagine your car as a person. The exterior is its body, and the headlights are its eyes. When driving on a barren road in the middle of the night, you rely on the headlamps. You keep them on so the darkness disappears and you can clearly see what’s ahead.
What we will discuss here is how to restore your car headlights. You will get to know the workarounds with these simple and easy-to-follow instructions.
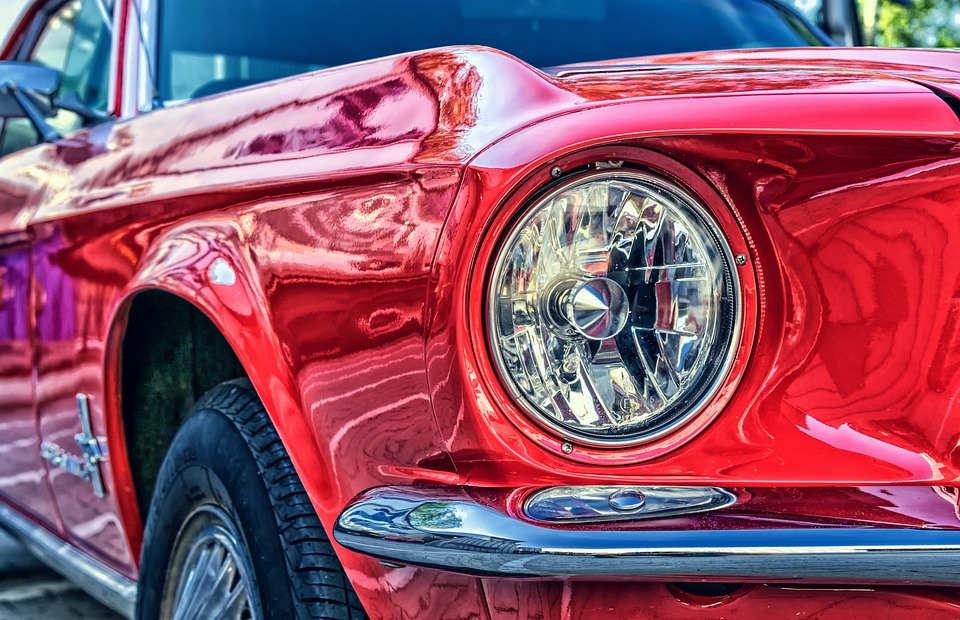
Damaged headlight lens
If the damage is on the inside of the car, it’s hard for you to figure that out. The first thing that you need to do is look for moisture because moisture being found on the outside of the lamp indicates something is damaged on the inside.
You need to drain the moisture. Some people remove the cap and allow the liquid inside to dry up. The problem when you do that is the moisture leaves stains. A better workaround is here. Whatever you do, don’t use glass-cleaners because they contain ammonia. If your headlight is made of plastic instead of glass, the ammonia will turn it a pale yellow color.
Use Deoxidiser
A deoxidiser is an ideal cleaning agent for plastic-made headlights. The reason plastic is preferred over glass is it is cost-effective. The oxidisation is caused by UV rays, debris and pollutants.
The advantage of using a headlight deoxidiser is it can remove all traces of oxidation. As the deoxidiser removes oxidation, your car’s night vision improves and its resale value increases. Before you use the deoxidiser, wash the headlights with clean water to remove excess dirt.
Use Fine Emery Paper
You need to use an approved fine emery paper when you have finished using the deoxidiser. Most headlight restoration kits have more than one grade of emery paper. Use emery paper very carefully because inept handling may damage the paintwork of the car. A mistake, which many people make, is to rub the emery paper in circles. Don’t ever do that and make sure you always use it with a side-to-side motion. Do not apply too much pressure to the cleaning action as this is intended to be a surface polishing action.
Make sure that you wet the emery paper before you use it. This softens the emery paper so that it won’t damage the exterior paintwork of your car. However, polishing the headlights with emery paper doesn’t yet mean the work is complete. What you now need is a towel . Use a damp towel very gently to wipe clean the surfaces of the headlight.
Apply Liquid Polisher
Liquid Polisher is also known as a rubbing compound. When you have completed the emery paper polishing, place a swab of liquid polisher onto the surface of the headlight and wait for a few minutes. Wait for the headlights to haze. When you notice thin layers of steam, it is time to use the buffer applicator pad.
There’s a specific manner in which the applicator pad needs to be used. Use it back and forth on the surface of the headlight. This way the glaze on the headlight due to the wet polishing will be totally removed. One thing you need to remember is that areas around the headlight are at risk of being damaged by the applicator pad. In order to prevent damage you need to protect these areas using an automotive masking tape.
As you continue to use the applicator polisher pad, you’ll notice a change in the headlight’s surface glaze. Its glaze will increase. At the point when you notice the surface area is returning to its original luster, stop applying the polisher and pad. At the point when you observe the original shiny look of the head light you need to apply a sealant using another applicator pad. You will need to rub the headlight in a side-to-side direction, applying the sealant to all the external surfaces of the headlight.
When this process is complete, you can wrap up and admire the results of your hard work.
Why do-it-yourself
If you want this work completing by a professional, then the charge will be a minimum of £39.44. Although the cost may not appear to be high for this kind of work there can be little justification for hiring someone with their associated cost when you can do it yourself.
So please feel free to follow the guidance detailed in this article and restore your car headlights yourself.
**This article is shared by Premier Plates, UK for information purposes only.*